제이쿼리(jQuery)
- 자바스크립트 언어를 간편하게 사용할 수 있도록 단순화시킨 오픈 소스, 이벤트 기반의 자바스크립트 라이브러리
- 제이쿼리를 이용하면 문서 객체 모델(DOM)과 이벤트에 관한 처리를 손쉽게 구현할 구 있다.
- jquery는 자바스크립트가 있는 곳에 기술, jquery는 항상 제일 마지막에 실행된다!!
- jquery 주소 복사해서 <script>안에 넣어서 사용
더보기
[jquery import 관련 이클립스 템플릿 지정]
1. [window] - [preferences]
2. [web] - [HTML files] - [Editor] - [Templetes]
3. 반영할 문서 형식 선택(New HTML File) 및 edit 클릭
4. 문서 안에 <script src="https://cdnjs.cloudflare.com/ajax/libs/jquery/3.6.0/jquery.min.js"></script> 넣어놓기\
5. 자동으로 HTML 실행할 때마다 jquery 소스 파일만 뜸
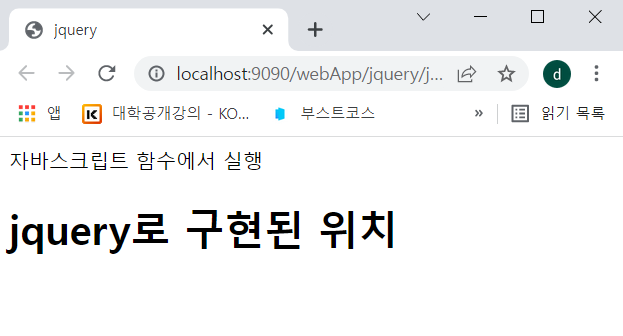
jquery 구현 실행문
<script src="https://cdnjs.cloudflare.com/ajax/libs/jquery/3.6.0/jquery.min.js"></script>
<script>
	let num = 100;
    function jsView() {
    	document.getElementById("test").innerHTML = "자바스크립트 함수에서 실행";
    }
    $(document).ready(function(){
        // jquery 영역
        $('#test2').html("<h1>jquery로 구현된 위치</h1>");
    });
</script>
</head>
<body onload="jsView()">
	<div id="test"></div>
    <div id="test2"></div>
</body>- jquery는 현재페이지가 로딩이 완료되면 ready이벤트가 발생하고, ready 이벤트발생 시 처리할 함수를 생성
- document가 선택자이다, (<body>가 선택자)
- document가 ready 이벤트가 발생
jquery의 여러가지 표기 방법
- $뒤에는 선택자, 선택자가 내장객체가 될 수도 있음(document처럼)
$(document).ready(function(){
console.log("jquery start..(document)")
});
$(function(){
console.log("jquery start..")
});
$jQuery(document).ready(function(){
console.log("jQuery start")
});
$(()=>{
console.log("jquery start..")
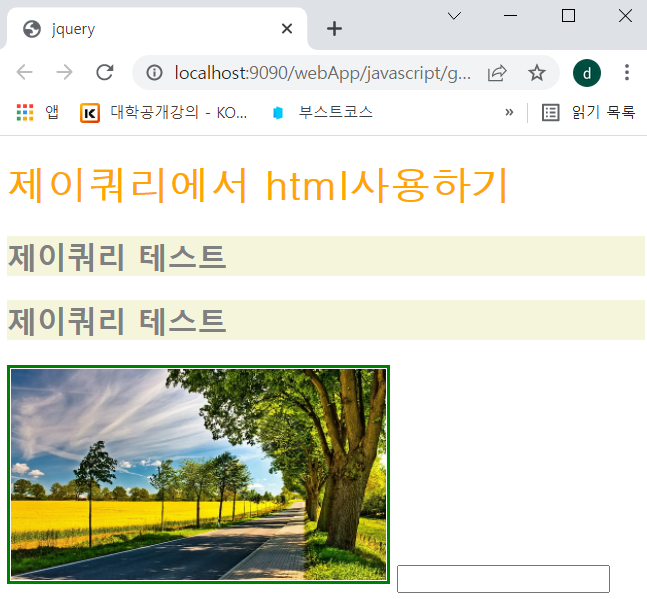
});1. 제이쿼리에서 html 사용하기
1. HTML 파일
<body>
	<h1>제이쿼리에서 html사용하기</h1>
	<h2 class = "c1">제이쿼리 테스트</h2>
	<h2 class = "c1">제이쿼리 테스트</h2>
	<img src="../img/nature.jpg"/>
	<input type="text" id="txt"/>
</body>
2. css( ): 제이쿼리에서 스타일시트 사용하기
- 선택자: 내장객체(document), 태그, 아이디, 클래스, 자손, 후손
- 첫번째 매개변수는 속성, 두번째 매개변수는 속성값(문자로)
$(function(){
	$("h1").css("color", "orange")
    	   .css("font-family", "돋움);  // 선택자는 h1태그
        $(".c1").css("background-color","beige").css("color","gray"); // js에서는 backgroundColor

    //그룹화
	$("img").css("border", "3px green solid").css("width", "300px");
});
3. attr( ) , prop( )
- attr( ): html의 속성 사용하기(attribute), 속성과 속성값이 있는 속성을 처리할 때
- prop( ): html의 속성 중 속성명만으로 처리되는 속성을 사용하기
- jquery가 가장 마지막에 실행되기 때문에 가능하다.
// attr()
$("#txt").attr("type","number").attr("value", "20");

// prop()
$("#txt").prop("readonly",true); // 해제하겠다 -> false
더보기
- text -> num으로 바뀐다.
- readonly로 바뀐다. (클릭할 수 없음)
인접선택자
1. HTML 파일
<body>
	<div>
		<h1 id="first">인접 선택자</h1>
		<h2 class="one">children선택자</h2>
		<h2 class="one">next선택자</h2>
		<h4>prev선택자</h4>
		<h4>parent선택자</h4>
		<h3>sibling선택자</h3>
		<h2>자손, 후손선택자</h2>
	</div>
	<img src="../img/nature.jpg" />
</body>
2. 선택자들
- children( ) : 자손선택자
$("div").children(".one").css("background-color","pink");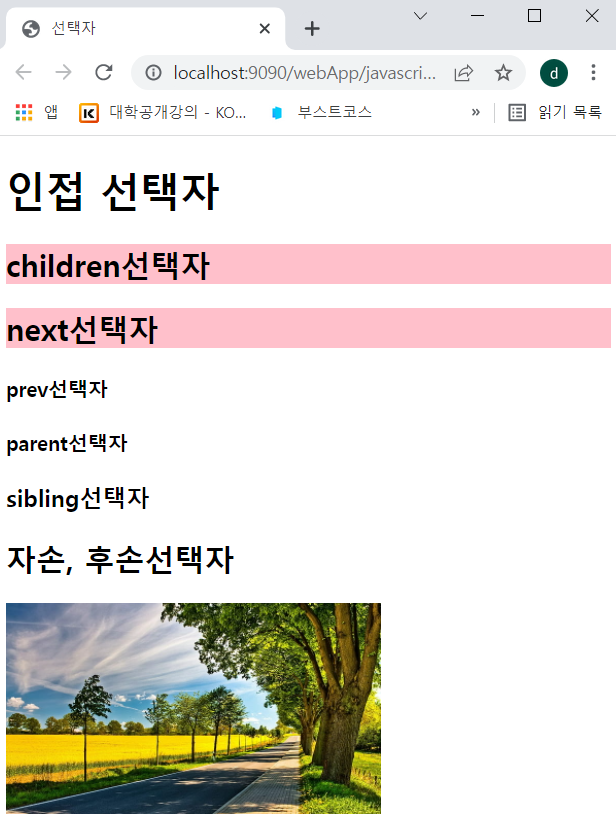
- next() : 선택자의 다음 객체를 선택한다.
$("#first").next().css("color","white");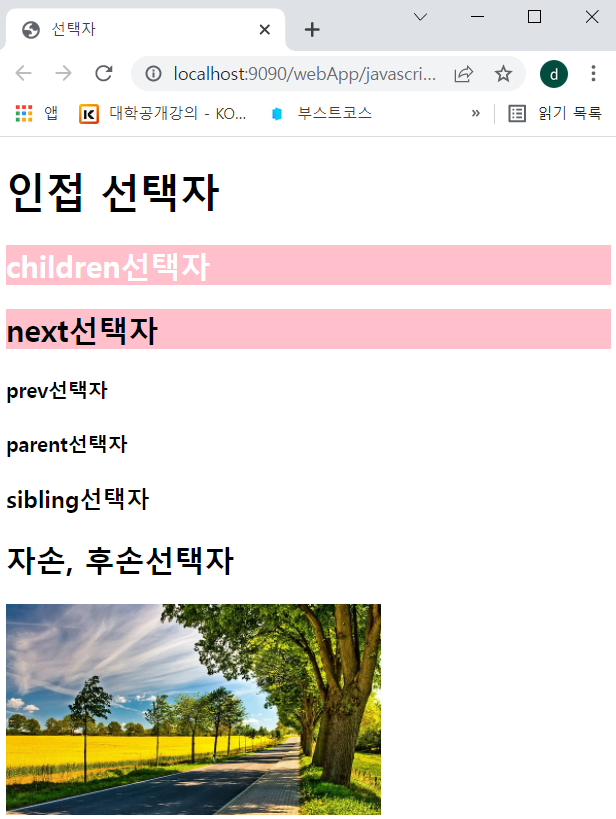
- prev() : 선택자의 이전 객체를 선택한다.
$("img").css("width","300px").prev().css("border", "2px solid red");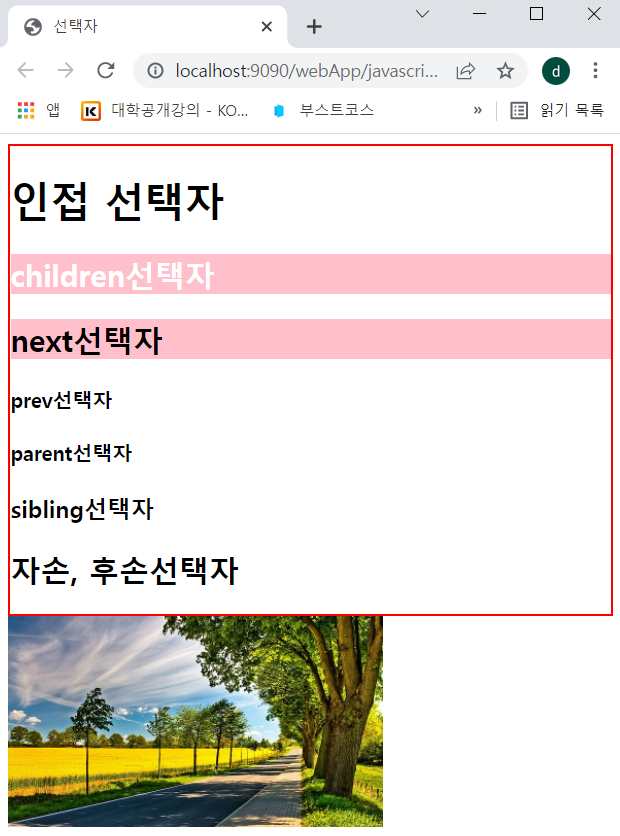
- parent() : 선택자의 부모 객체를 선택한다.
$("img").parent().css("background-color", "beige");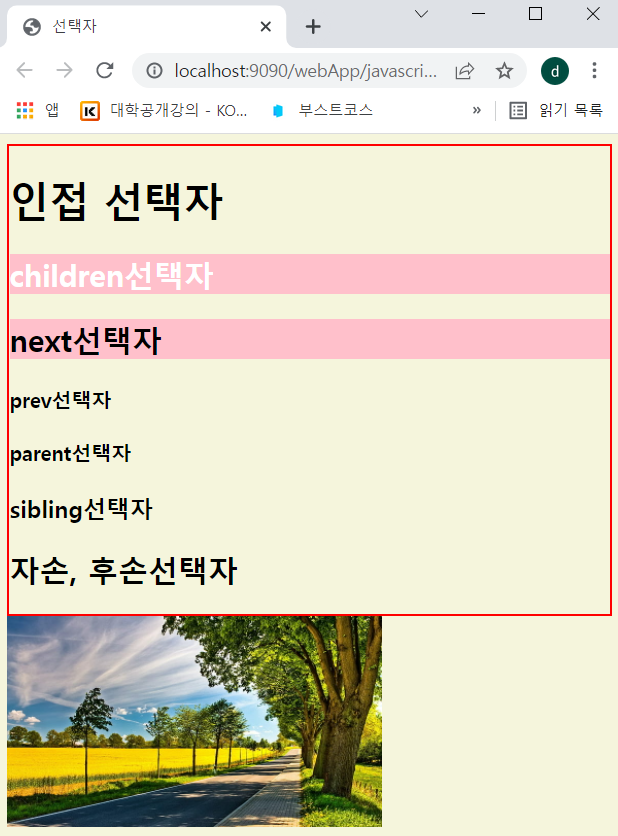
- sibilings() : 선택자의 형제객체를 선택한다.(같은 위치에 있는 것은 모두 형제)
$("#first").siblings().css("text-decoration","underline");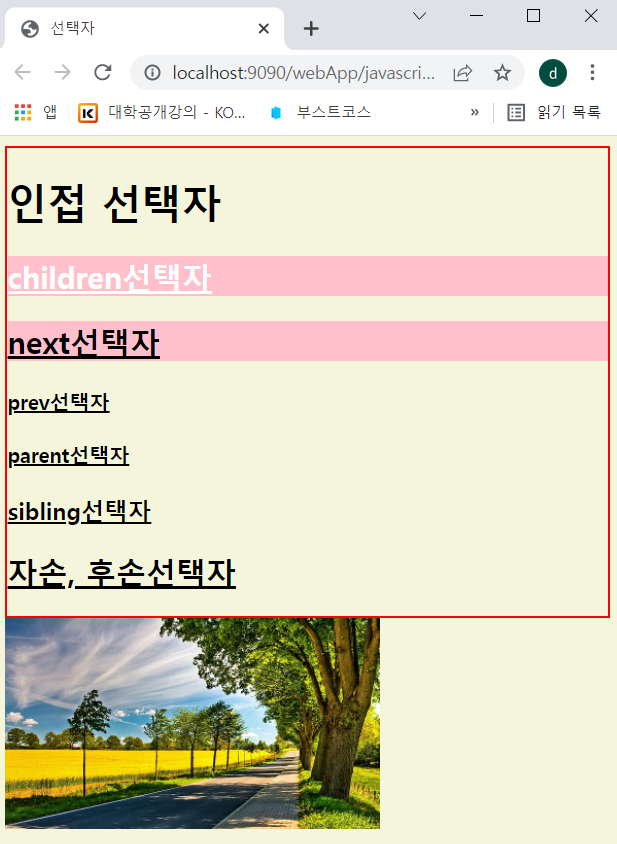
- next( ).attr( )
$("div").next().attr("title", "인접선택자의 다음 객체");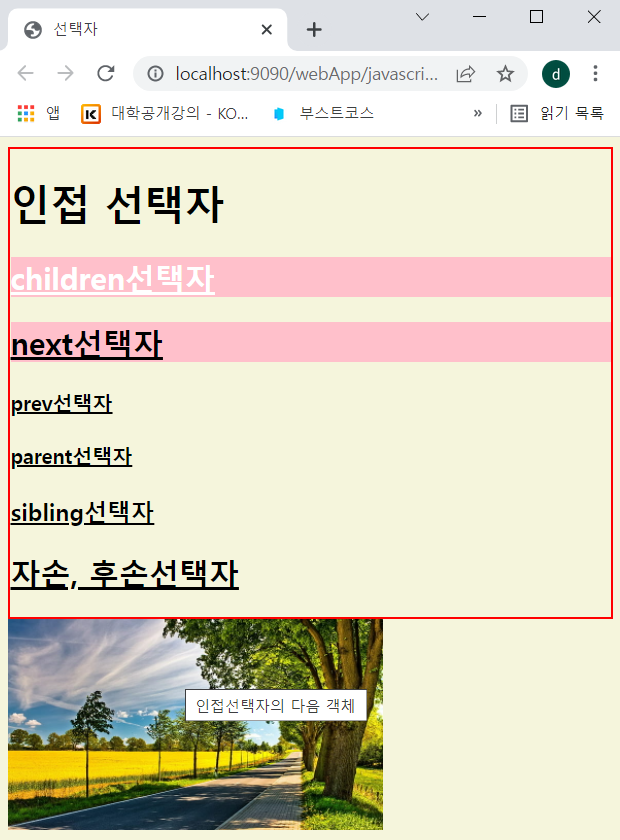
'멀티캠퍼스 풀스택 과정 > 프론트엔드' 카테고리의 다른 글
| 프론트엔드5-3. jquery 요소의 조작1(추가, 삭제, 변경, 복사) (0) | 2022.02.16 |
|---|---|
| 프론트엔드5-2. jquery의 선택자-2 (0) | 2022.02.15 |
| 프론트엔드4-5. google map api 사용-2(geocoding) (0) | 2022.02.15 |
| 프론트엔드4-4. google map api 사용-1 (0) | 2022.02.14 |
| 프론트엔드4-3.[javascript] 정규표현식을 이용한 유효성 검사 (0) | 2022.02.13 |


